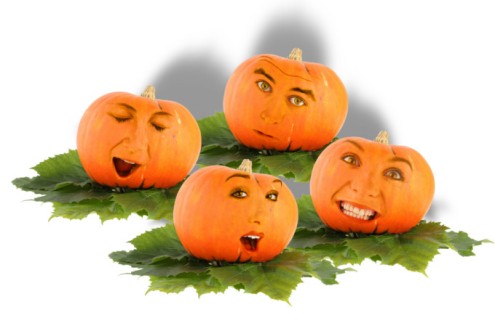
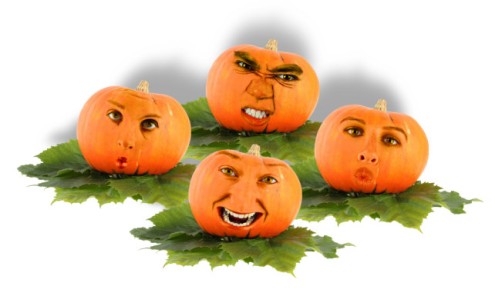
More face pumpkins
Click image to download.
(Psp and psd format both included in zip file; each pumpkin in a separate file)
Face pumpkins
Click image to download.
(Psp and psd format both included in zip file; each pumpkin in a separate file)
Make your own scrapbook embellishments tutorial (PSP)
If, like me, you’re not good at drawing, but still want to make your own embellishments, there are plenty of dingbat and doodle fonts that you can use to spice up your scrapbooking. Two of my favourite sites with lovely free dingbats are Miss Tina’s fonts and Kevin & Amanda’s Fonts for Peas, both of which are free for personal use (but be sure to read their TOU before using any fonts just to be on the safe side!).
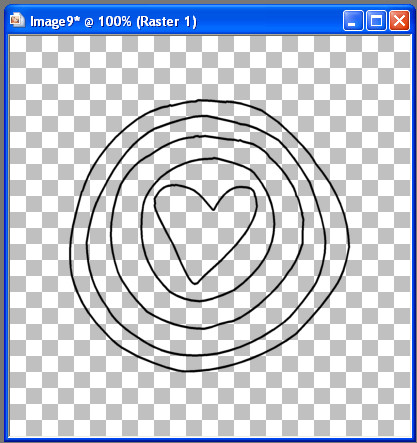
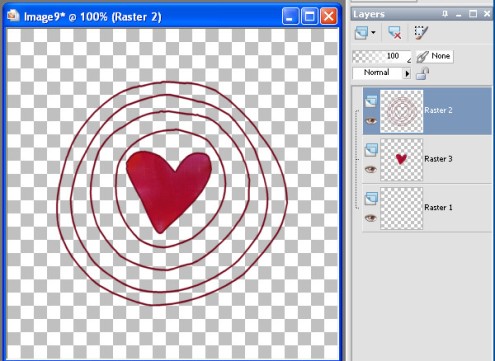
Install the font you want to use before opening your PSP programme. Open a new image, I like using 400 x 400, but use any size you are comfortable with. Click on your text tool, scroll down to the doodle/dingbat font you want to use and type out the letter/dingbat you want use. I chose a heart and circles motifs from Pea Bethany’s Doodles font (capital F). You can use any colour because you can change it later. Use a font size you are comfortable with. For this one, I used 40 points, foreground black, background turned off. Objects – Align – Center in Canvas, then convert to raster.
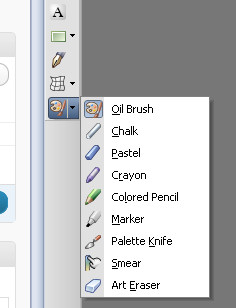
Now activate your Oil Brush tool, which you can find here, along with various other Art Media tools (we will be using the Palette Knife later on!). I will also show you the toolbar that appears with the settings I used, but be sure to experiment with the settings. If you check the Auto clean box, the brush will be automatically cleaned every time you choose a new colour, if you leave it unchecked, you have to do that by clicking on the Clean icon next to it.
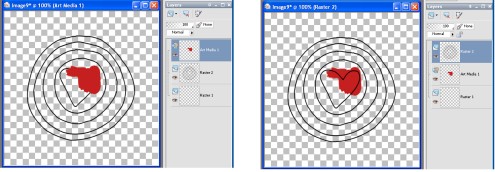
Activate your Oil Brush tool, choose the colour you would like to use, set the size, and start painting. You will notice that an Art Media layer appears above your dingbat layer. Simply drag it underneath so you can see the outlines of your drawing, make sure you are on the Art Media layer and continue painting.
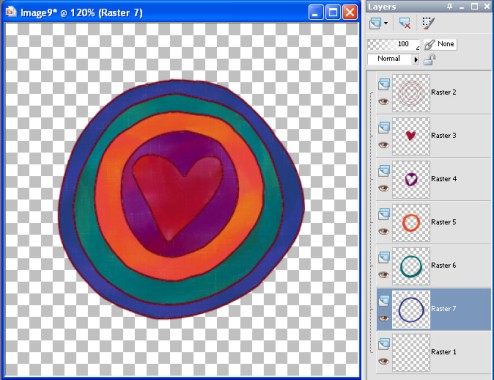
I first painted the heart. To get rid of the excess paint around your design, go to your picture layer, and click inside the shape with the Magic Wand. Selections – Modify – Expand, and expand by 1 pixel, then Selections – Invert, go to you Art Media layer, and hit delete. Now you can either leave it as it is and go to you next element, or you can make it more realistic by adding some shading. Make sure you are on you Art Media layer, activate the Palette knife tool, and choose a complementary shade to your colour, then start shading. You will need to experiment with this, if you don’t like what you did, simply go to Edit – Undo, and start over again until you come up with something you like. I sometimes use as many as 3 or 4 colours. When you are finished, get rid of the excess paint in the same way as before. Convert your Art Media Layer to Raster.This is important, so that you don’t mess up what you have already done when you begin painting the next part.
This is a good moment to decide the colour of your picture’s outline, so that any colours you use later will harmonise with it. To change the colour, first make sure you are on the outline layer, then Adjust – Manual Colour Correction and change it to whatever colour you want. I usually use a darker hue of the painted colour. (If this command is missing from your Adjust menu, use this tutorial to add it to the list of commands and have a look at this tutorial on how to use the Manual Colour Correction option.)
Now you can paint the other areas to your liking.
When you are finished, simply merge visible, and you are done!
Have fun!
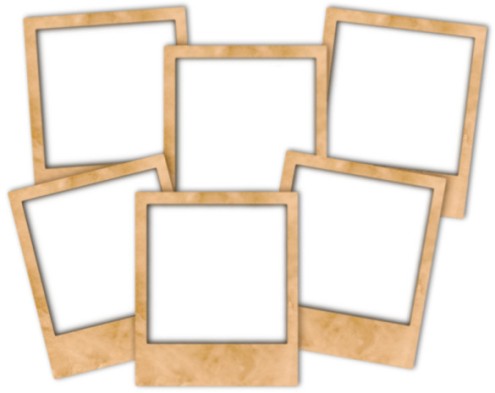
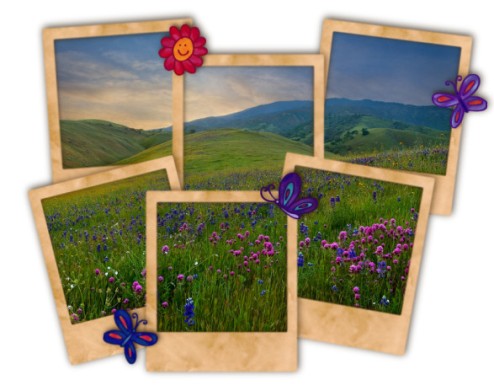
Polaroids cluster frame
Click image to download.
(Psp and psd format both included in zip file)
Click image to download.
(Psp and psd format both included in zip file)
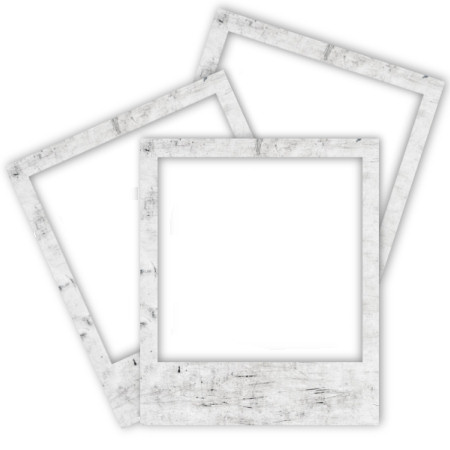
Triple polaroid frame
Click image to download.
(Psp and psd format both included in zip file)
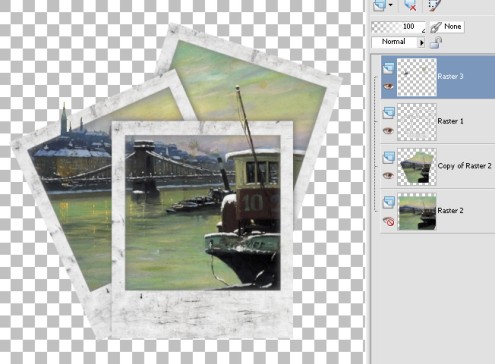
A quick tutorial on how to use this frame:
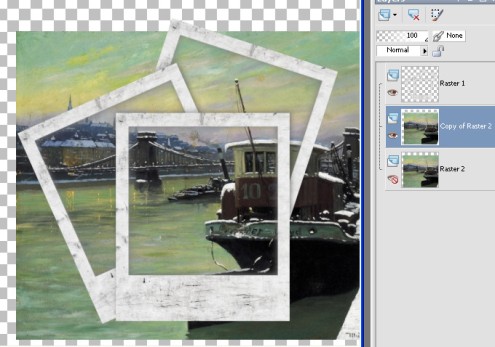
Open the photo or picture you want to use, make a copy, cloe the original, and drag the copy under the frame layer. Resize if necessary and position to your liking.
Duplicate after resizing and repositioning, and close the duplicate layer.
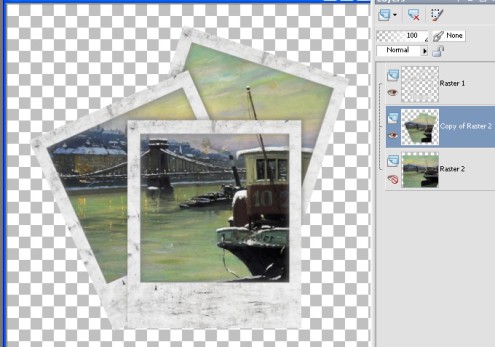
Go to the polaroid layer and click anywhere outside with your Magic Wand. You will see the marching ants around the outside of the frame. Selections – Invert, then Selections – Contract and contract by about 4, then Selections – Invert again. Now go to your picture layer and hit delete. Select none.
You can leave it as it is, or you can liven it up a little. Unhide the copy of your picture and select the details you want to add.
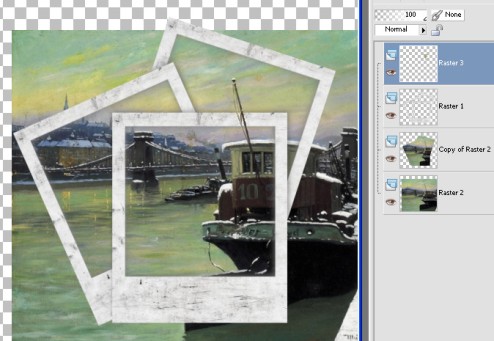
I chose the boat’s mast and a part of building in the background.
Grab your selection tool, set to rectangle, and draw a small rectangle around the detail you want to add. Edit – Copy. Now add a new raster layer (Layer – New) and make sure it is above the frame layer. Make sure you are on the new raster layer, then Edit – Paste into selection. Select – None.
Go to your top layer and carefully erase the unnecessary parts.
Repeat the same procedure for any other details you want to add.
When you are finished with adding the details you want, delete the copy, merge visible, and you’re done!
Have fun!
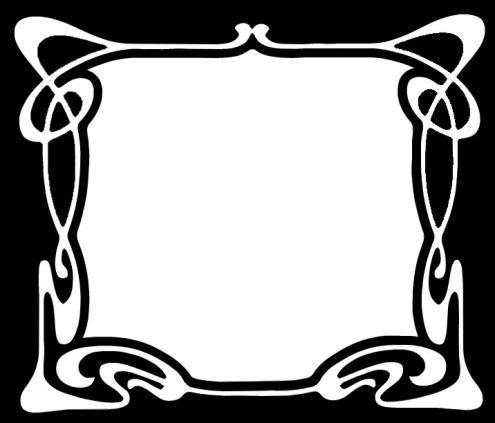
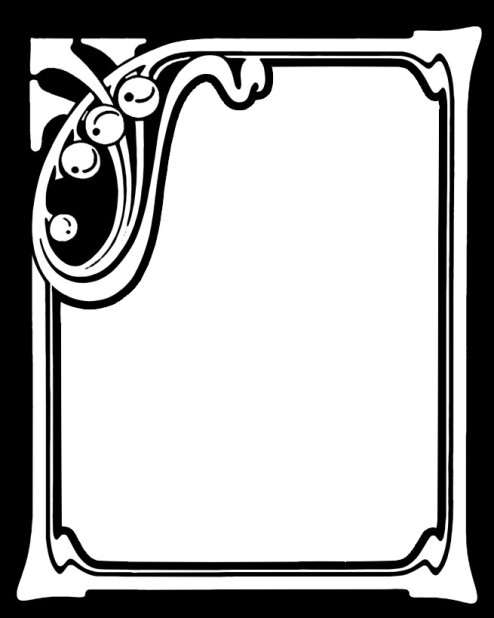
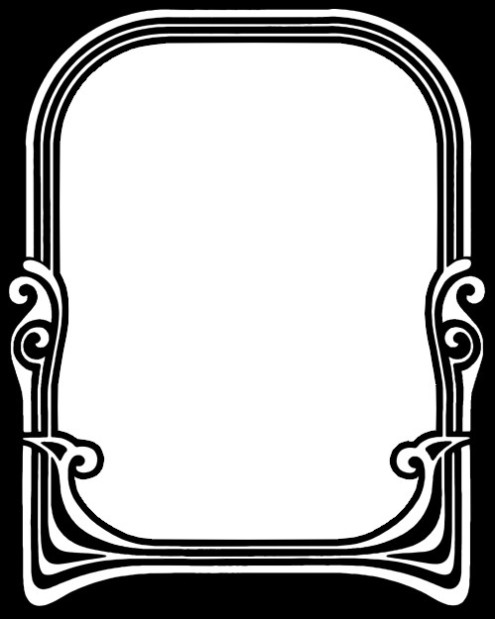
Art Nouveau masks
Click image to download.
Click image to download.
Click image to download.
Click image to download.
